In today’s digital age, audio quality is a crucial aspect of content creation, video calls, and recording situations.
The built-in microphone on your smartphone or laptop may not always deliver the desired audio clarity, especially in noisy environments. This is where a mini microphone comes to the rescue.
A mini microphone, also known as an external microphone, can greatly enhance the audio quality of your recordings, whether you’re creating social media content, recording podcasts, or participating in video calls.
In this step-by-step guide, I will explore how to use a mini microphone, select the right one for your needs, and provide useful tips and techniques for optimal audio performance.
So, let’s dive in and discover how a mini microphone can take your audio quality to the next level.
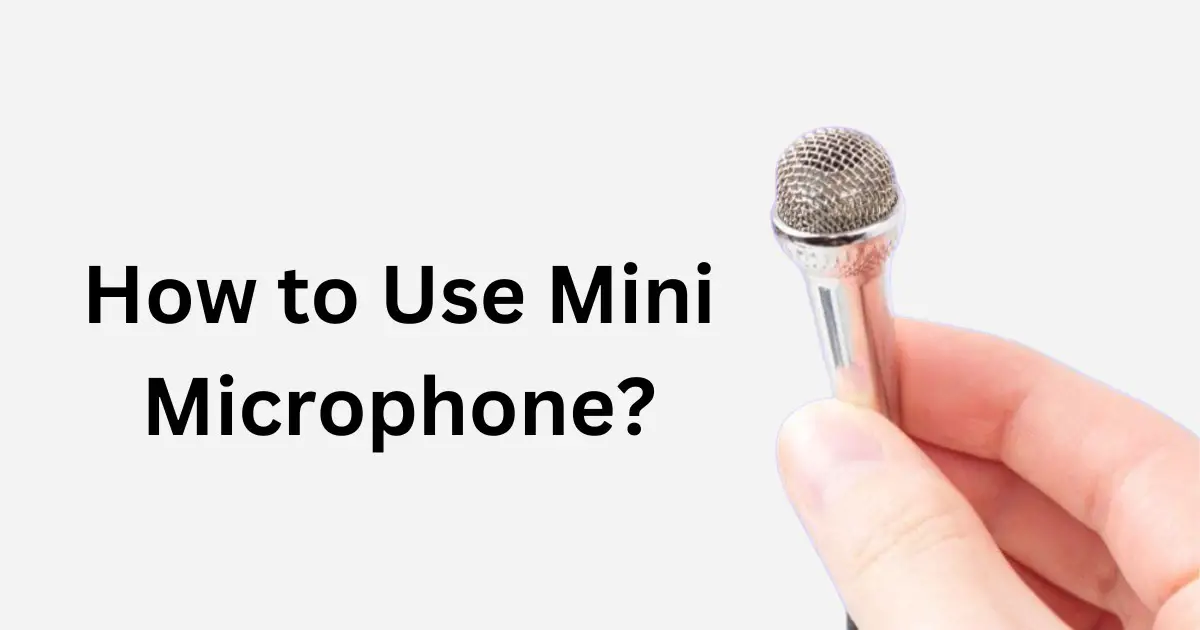
How to Use Mini Microphone?
To use a mini microphone, put it near the sound source within 1-2 feet. Face the top of the mic towards the speaker’s mouth or musical instrument. Attach the mini mic by clipping it on clothing or holding it below the chin. Ensure that nothing obstructs the front of the mic. Angle the mic slightly off-axis from the mouth and use a foam windscreen to reduce popping sounds.
Before starting, check that levels are optimal by doing a mic check. Avoid handling or bumping the mini mic during use. For wireless microphone including wireless lapel microphone, ensure that you charge your battery and connect your receiver. These tips will help you get great audio quality from your mini microphone.
Selecting the Right Mini Microphone
Choosing a small microphone? Think about a few things.
Here’s what to remember:
Compatibility
Before you buy a small microphone, make sure it works with your device. Look at the details of the product to see if it can be used with your smartphone, tablet, or computer.
Directionality
Small microphones have different ways of catching sound, like omnidirectional, cardioid, and supercardioid.
- Omnidirectional: Picks up sound from all sides.
- Cardioid and supercardioid: More focused, capturing sound from specific directions.
Think about how you’ll use the microphone and pick the catching sound style that fits your needs best.
Frequency Response
Frequency response is about the different pitches a microphone can hear. Small microphones usually hear pitches between 20Hz to 20kHz.
If you’re recording music, it’s good to get a microphone that can hear a wider range of pitches.
Noise Reduction
If you’re going to use the small microphone in a noisy place, find one with noise reduction. Some small microphones have a special tech to cut down on background noise, making your recordings sound better.
Portability
If you’re looking for a portable microphone, go for a small one. They’re easy to carry, and you can take them anywhere. Think about the size and weight of the microphone before buying one. By doing this, you can choose the right microphone that meets your needs and records sound excellently.
How do you Set Up a Mini Microphone?
If you got a small microphone, let’s get it ready to use.
Follow these simple steps to set it up and start using it well:
Reading the User Manual
Make sure to read the manual carefully. It has important info about:
- What the device can do
- How to use it safely
- Fixing common problems
- Warranty and how to get help from customer support.
Connect to your Device
After making sure everything is there, let’s connect your small microphone to your device.
Follow these steps:
- Plug one end of the cable into the microphone and the other into your device’s audio input port. If the ports are different, use adapters.
- Turn on your device and go to audio settings or sound preferences. Here, you’ll:
- Pick your small microphone as the input device (if it’s not already selected by your system).
- Adjust input levels and any available enhancements.
Testing and Adjusting
Now, let’s check if your microphone is working well.
Follow these steps:
- Record a short clip using a voice memo app, audio recording software, or any built-in tool for this.
- Listen to the recording. Make sure it sounds clear and loud. If not, adjust the microphone or settings.
If you’re using a tripod or something to hold it steady, make sure it’s securely attached and placed just right for clear sound.
Basic Usage of Mini Microphone
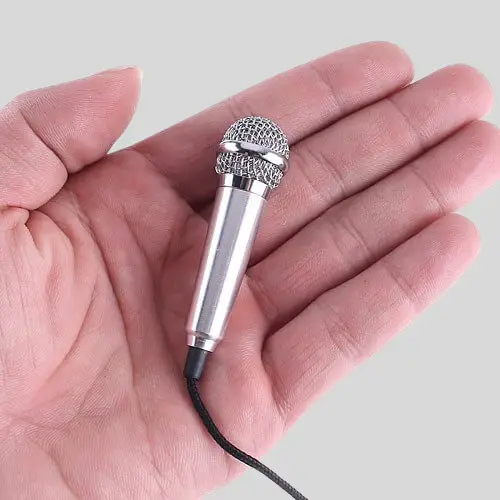
Small microphones are tiny gadgets you can carry around to capture sound. People like vloggers, podcasters, and musicians use them to record audio while they’re out and about.
Here are some simple tips to help you use your small microphone:
Adjusting the Settings
Before you start recording, make sure to adjust your small microphone’s settings. Most of them have a control called “gain” that lets you set how much sound it picks up. Choose a level that fits the noise around you.
For example, if it’s really loud, like a musical instrument, set the gain lower to avoid making the recording sound weird.
Also, check if your small microphone is set to the right “polar pattern.” This decides which way it listens.
There are three main types:
- Omnidirectional: Hears sound from all sides.
- Cardioid: Listens to the front and sides.
- Bidirectional: Hears from the front and back.
Recording Techniques
When you’re recording with a small microphone, how you place it makes a big difference in how good the sound turns out.
Here are some tricks to remember:
- Keep it close: Hold the microphone near what’s making the sound. This gets you clear and detailed recordings.
- Use a cover: If it’s windy or there are strong puffs of air, put on a windscreen or pop filter. It stops weird noises in your recording.
- For conversations: If more than one person is talking, put the microphone in the middle. This way, everyone sounds the same loudness.
- For music: Try putting the microphone in different spots. For example, if it’s an acoustic guitar, close to the hole gets a warm sound, near the bridge gets a brighter sound.
By following these simple tips, your small microphone can make your recordings sound really good for whatever you’re working on.
Advanced Techniques
Using With Different Apps
To use a small microphone with different apps, first, make sure the app works with your small microphone. If you’re not sure, check the app’s info or ask its creators. Next, in the app, adjust your microphone settings to get the best sound quality possible, using any available tools. Lastly, try placing the microphone in various spots to see what sounds best as this could influence your sound recording significantly.
Troubleshooting Common Issues
Even though small microphones are handy, they can sometimes have problems.
Here are some common issues and ways to fix them:
- No sound: Check if the microphone is plugged in correctly and if your device knows it’s there. If it’s connected but still no sound, change the microphone settings in the app or try a different app.
- Background noise: Small microphones might catch extra noise, especially in loud places. Use a noise-canceling app or change the microphone settings to lower the background noise.
- Distorted sound: If your recordings sound weird or too loud, try making the microphone less sensitive or move it away from the noise.
By trying these tricks and fixing common issues, your small microphone can work well and make great recordings.
Maintaining Your Mini Microphone

Taking care of your small microphone is important to keep it working well and giving you great sound.
Here are some easy tips to help you look after your small microphone:
- Keep it clean: Dust and stuff can gather on the microphone. Use a soft brush or a cloth to gently clean it. Don’t use water or cleaners because they might harm the microphone.
- Store it right: When you’re not using it, put your small microphone in a protective case or pouch. This stops it from getting scratched or damaged. Don’t leave it in super hot or humid places.
- Check the battery: If your small microphone uses batteries, keep an eye on how much power they have. Change them when they’re low so your recording doesn’t get interrupted.
- Don’t drop or hit it: Small microphones are fragile. Be gentle and avoid dropping or hitting them. Too much pressure can break them.
- Use it the right way: Follow what the maker says in the instructions. If you don’t, you might damage the microphone and it won’t work as well.
By doing these simple things, your small microphone will stay in good shape and give you the best sound possible.
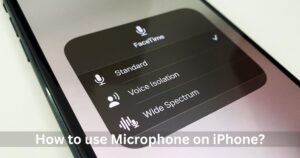
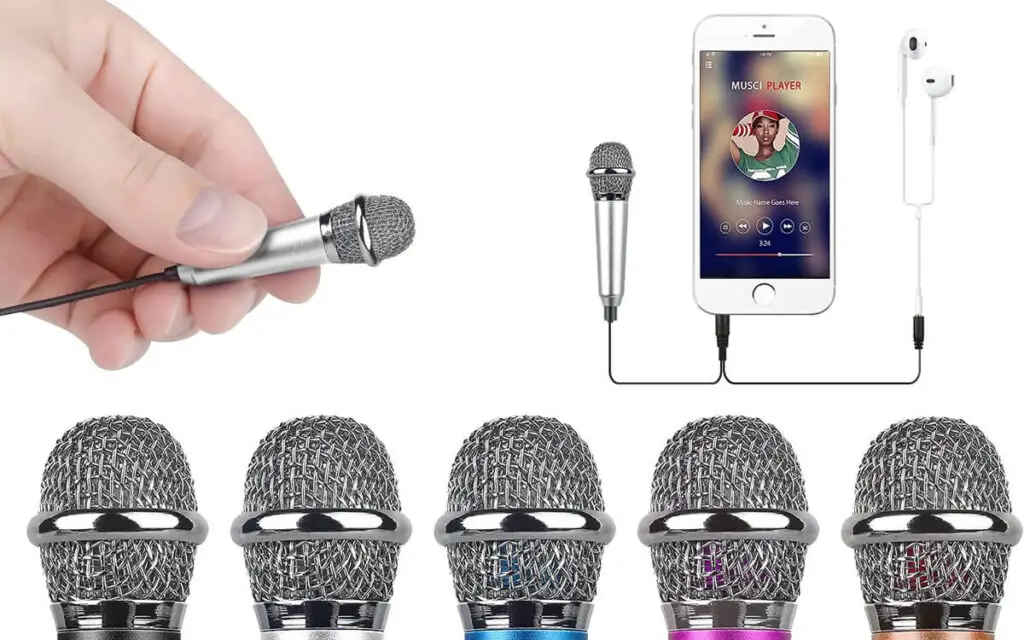
How to use Mini Microphones on iPhone and Android Phones for better Audio?
Using a microphone for recording on your phone has lots of advantages. Wondering how to make the most of it and get better audio?
Here are some helpful tips.
Connect the Microphone
It’s super easy to use because it has a Lightning or Type C connector. Just plug it into the charging port, and you don’t even need to worry about which side is the front or back – it’s the same on both sides.
Check the Connection
To use a mini microphone, connect it carefully and check if it’s working. If you have an iPhone or iPad, open recording apps like Voice Memos to record with your mini microphone.
Tap the mic to see the waveform change, confirming that your mic is connected and working well as the audio device for your mobile device. You can also use it for video and conference calls on Zoom for both iOS and Android devices, but make sure you have the right interface or adaptor for your device.
Choose a Good Recording Environment
Whenever you use the mini microphone for YouTube or recording inside, it’s important to think about the place and how it affects your audio.
In rooms with lots of surfaces that bounce sound, like wood floors and concrete walls, your recording might have reverb or echo, making it hard to listen to.
How do you fix this? Pick a spot with soft things like rugs, curtains, or shelves with books if you can. Places like bedrooms and studies, especially smaller ones, work well.
Position your Mic Close to your Mouth
It’s also crucial to notice how far your mouth is from the phone microphone. Usually, if your mic is about 20-30cm close to your mouth, you’ll be heard much better.
Set the Mic Level Correctly
To change how loud or quiet your phone microphone is, look for the volume control in your phone’s audio settings or your recording app’s settings.
Before you start recording, check the volume to make sure it’s not too loud or too soft – somewhere around two-thirds of the way across the level meter is good.
Using a monitor microphone is handy in this situation. It lets you plug in headphones to hear what you’re recording and make adjustments while recording.
Use Accessories
Sometimes, you might need extra things to make sure your mini microphone for Android or iPhone records really good sounds.
Two helpful things are:
- Windscreen: It’s useful when you’re recording outside to stop the wind from making noise. Usually, it comes with the microphone.
- Shock mount: This helps soak up sudden sounds, like tapping the microphone. It’s great for getting clear audio.
Also, there’s something called a pop filter, which stops certain sounds (like /b/ or /p/) from being too loud. But mostly, people use it in studios.
FAQ’s:
How do you Position a Mini Microphone for Optimal Performance?
To position a mini microphone for optimal performance, follow these tips:
- Place the mini microphone as close to the sound source as possible to achieve clarity and minimize background noise.
- Aim the mini microphone directly at the sound source to capture sound with better quality and clarity.
- Consider using a windscreen or pop filter to reduce unwanted noise, such as breaths or plosives.
- Experiment with different positions and angles to find the best placement for your specific recording needs.
Can a Mini Microphone be used in Noisy Environments?
Yes, a mini microphone can be used in noisy environments. Many mini microphones are equipped with noise reduction technology, which helps minimize background noise and improve audio quality.
However, it’s important to find a balance between sound source clarity and background noise reduction.
Depending on your recording situation, you may need to experiment with microphone placement, microphone settings, and accessories to optimize audio quality in noisy environments.
Are there any Special Techniques for using a Mini Microphone during Interviews or Presentations?
Here are some tips for using a mini microphone effectively during interviews or presentations:
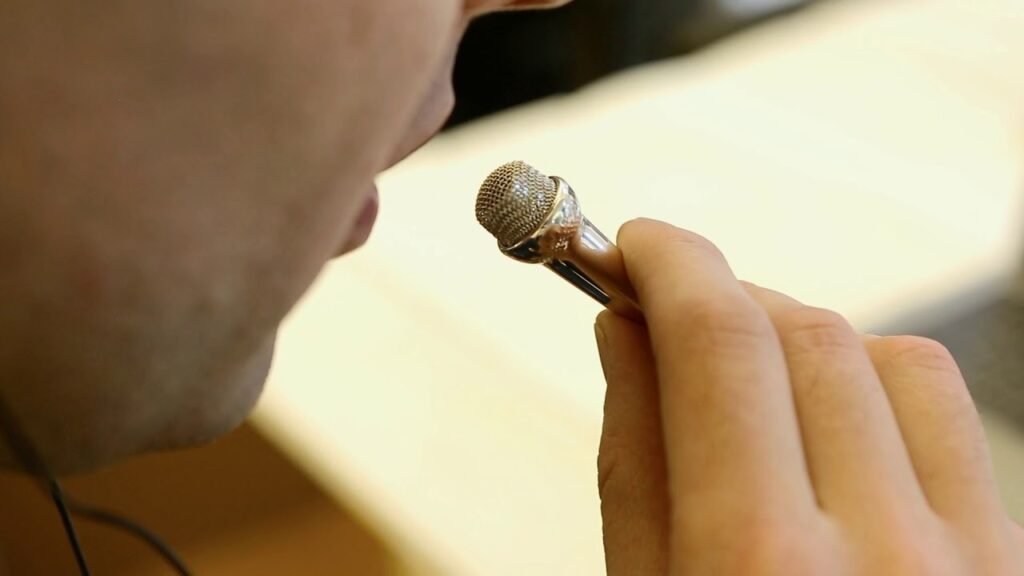
To use a mini microphone, clip a small mic to the interviewee’s collar or lapel.
Make sure the mic is close to their mouth. You can use an omnidirectional lavalier mic to record sound evenly. You can also mount a miniature shotgun mic on top of the camera facing the speaker. This directional mic picks up only the speaker’s voice. Another option is to handhold a small condenser microphone below the speaker’s chin.
For multi-person interviews, use clip-on mics for each person or pass around a handheld mic. A wireless mic is suitable for presenters who need to move around freely. Place the mic slightly off-center to avoid plosives and pops.
Avoid touching or bumping the mini mics during recording, as it can cause noise and interference. Use foam windscreens on mics to reduce popping and breathing sounds. Check the recording levels before starting to record.
Conclusion
In conclusion, using a mini microphone can greatly enhance your audio experience, whether you are recording podcasts, videos, or conducting interviews.
It is important to select the right mini microphone based on factors like compatibility, directionality, and noise reduction. Setting up the mini microphone involves reading the user manual, connecting it to your device, and testing and adjusting the settings.
Once set up, you can adjust the mic level, experiment with recording techniques, and explore advanced techniques like using different apps and troubleshooting common issues. It is crucial to maintain your mini microphone for optimal performance.
Whether you are using a mini microphone on an iPhone or an Android phone, following the steps like connecting the microphone, choosing a good recording environment, and positioning the mic close to your mouth can ensure better audio quality.