When it comes to recording audio, whether it’s for podcasting, streaming, or voiceovers, having a microphone that sounds great is essential. A high-quality microphone can make a huge difference in the clarity and overall sound quality of your recordings.
But sometimes, even with a good microphone, you may find that your recordings don’t sound as good as you’d like them to. That’s where these essential tips on how to make your microphone sound better come in handy.
In this blog, I will discuss various techniques and strategies to improve the sound quality of your microphone recordings, including proper mic positioning, using pop filters and windscreens, using high-quality cables, utilizing room acoustics, adjusting microphone sensitivity and volume settings, utilizing polar patterns, using plugins to tweak the sound, and many more.
So, without further ado, let’s dive in and discover how to make your microphone sound better!
How to Make a Microphone Sound Better?

To make your microphone sound better, there are several factors to consider.
Position the Microphone Properly
To make your microphone sound good, you need to put it in the right spot. It depends on what kind of microphone you have. If it’s for a singer or an instrument, put it close enough so it can pick up the sound well without needing extra volume. Also, position it at an angle to avoid unwanted noise.
If the room you’re recording in doesn’t sound great, you can use things like foam panels and bass traps to make it better. These materials help reduce echoes and other sounds that can make your recording not sound good. Try different ways of placing the microphone to find the best sound. It can make a big difference!
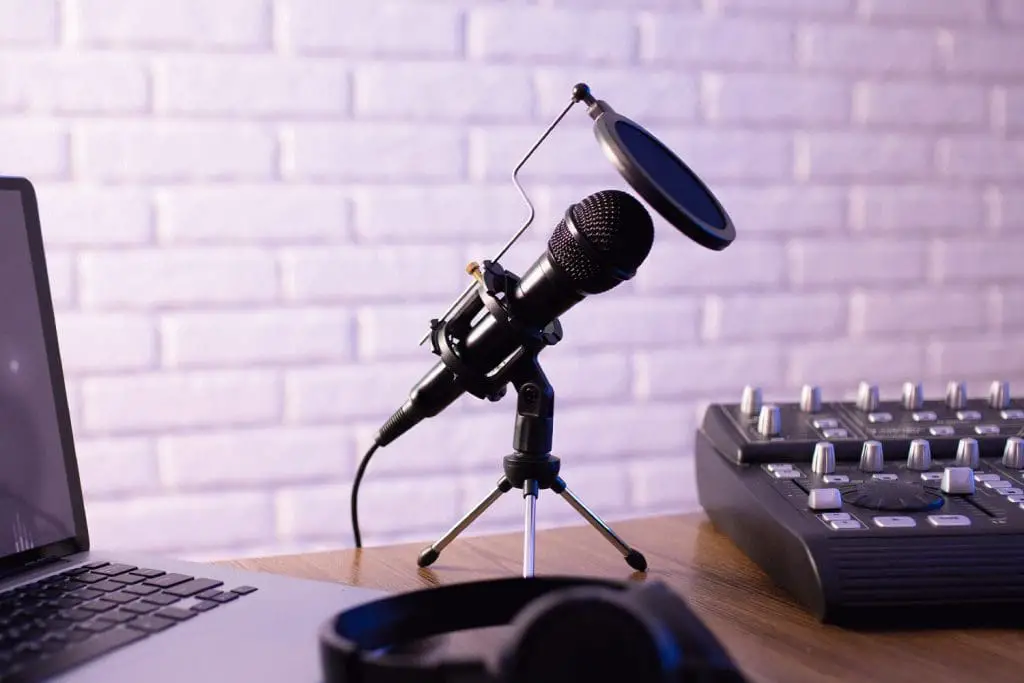
Use Pop Filters & Windscreens
To make your microphone sound better, use pop filters. These protect against annoying sounds like “p,” “b,” and “t.” Use windscreens when recording outside to block wind noise.
Before recording, clean these accessories to avoid weird sounds. Ensure they’re attached well to your mic stand for best results. These tips guarantee clear recordings without unwanted background noise.
Use High-Quality Cables
To improve your audio recordings, use good cables with shielding to avoid interference and weird noises. Avoid long cables as they worsen the signal. Ensure that all connections are secure and clean to prevent hissing or static sounds. Avoid adaptors as they add noise and reduce audio quality. Get the right cables for your microphone setup to make professional-sounding recordings without issues.
Use High-Quality Preamps
To make your microphone sound better, you can use a preamp. The preamp will make the sound stronger before it gets to the recording device. It is like having a helper for your microphone. A good preamp can make the sound clearer and warmer.
Using a preamp with your microphone makes the sound better, especially if you are recording directly into a computer. You can also control the volume levels to balance the sound and noise. Preamps may be expensive, but they are worth investing in for better-sounding audio.
Make sure to research different types of preamps before buying one. A good-quality preamp will help you record audio with more detail and clarity.
Utilize Room Acoustics
If you want to improve your microphone sound, you need to consider where you record. Rooms affect how recordings sound, with some making sounds better or worse than others. You can use acoustic foam to reduce echoes and make the most of your room when recording. Recording in a room with hard surfaces like concrete or wood helps your microphone pick up natural sound. Changing how your room sounds can significantly change the quality of your recordings.
Adjust Mic’s Sensitivity And Volume Settings
To make your microphone sound better, change its controls. Condenser mics have a gain to adjust sensitivity. Dynamic mics have a volume knob to control loudness. Adjusting these settings will make your microphone sound better.
Turn down gain or volume if there’s too much background noise. Turn up the gain or volume if your voice is not loud enough.
Your computer’s sound settings can also adjust the microphone volume. Don’t turn it up too high or it might make weird sounds. Changing these basic settings can improve how your microphone sounds with some trial and error.
Use The Polar Pattern
To make a microphone sound better, you need to understand its polar pattern. This is like the area where it hears sound and there are different types. The cardioid pattern hears in front and is usually best for recording voices.
But if you hear sounds from the sides, try a microphone with an adjustable polar pattern or test different patterns. With such a microphone, you can pick exactly where it hears sound, great if you’re in a noisy place. Choose an adjustable polar-pattern mic for the best sound!
Use Plugins To Tweak The Sound
Now that your microphone is all set up, let’s talk about the computer stuff. There’s something called plugins that you can use in recording programs like GarageBand or Pro Tools. These plugins can make your microphone sound way better. There are lots of them, like EQs (equalizers) and compressors, and each one does something different to make your sound better.
Pay attention to how each plugin works because even small changes can be really important for your recordings. Try out different combinations to see what sounds best for you. Don’t be scared to use more advanced plugins; some of them can do an amazing job of making your microphone sound much better.
Remember to adjust the levels as needed. Changing certain frequencies can really improve how your recordings sound. With the right plugins and adjustments, even a basic microphone can give you awesome audio.
Keep Distance In Mind
When you want your microphone to sound good, you need to consider how far you are from it. Different microphones work best at different distances. Dynamic mics are for close recordings, while condenser mics are better when a bit farther away. Your sound is louder and clearer when you’re closer to the mic. However, being too close can create messy sound with distortion or clipping. So, getting the right balance between proximity and clarity is crucial.
To find the perfect distance, try out different distances and listen to how it sounds like a pro recording. It might take some time to figure out what works best for your setup, but it’s worth the effort. Remember – distance matters!
Use Noise Reduction Software
If your microphone records unwanted noise, this can affect the quality of your recording. However, there are solutions to help make sure that your audio is clearer and better sounding. One helpful solution is called noise reduction software. This software removes any background noise and clears up your audio, which makes it sound professional. It also eliminates sounds like wind, traffic, or air conditioning hums that may interfere with voice clarity. Using noise reduction software is a great way to enhance the quality of your recordings.
Use Stands, Boom Arms, And Shock Mounts
To produce good recordings, you need the appropriate gear like mic stands, boom arms, and shock mounts. Stands keep your mic in position for consistent sound. Boom arms enable you to move your mic around and avoid the stand. Shock mounts stop vibrations from reaching your mic.
Try different mounting techniques on the stand to see how it changes the sound quality. Use foam windscreens or pop filters to block out background noise while recording. It may take some experimentation, but discovering the best setup will be beneficial.
Choose The Right Microphone
Having the right microphone is super important for getting great sound, no matter how good your mic setup is. There are different types of microphones, and each one is good for specific things.
Here are some common ones:
- Dynamic Microphones: These are great for recording vocals, instruments, and drums. They handle loud sounds well without messing up the quality.
- Condenser Microphones: These are more sensitive and capture detailed sounds, like acoustic guitars. They cost a bit more but give really good sound.
- Ribbon Microphones: These have a warm and smooth sound, perfect for vocals and acoustic instruments. They can also be used for electric guitars with careful setup.
- Bluetooth Microphones: These are portable and handy for remote recordings, like interviews. The sound quality is good, but not as high as some other types.
- Directional Microphones: These pick up sound from one direction and block out other noise. They’re great for isolating specific sounds in noisy places or recording interviews with many people.
After picking the right microphone for your needs, you can work on making the sound even better. Each microphone has its own unique features, so it’s good to try different things and see what works best for your recordings.
Turn Off Any Unnecessary Noise
To make your microphone sound better, remove extra electronics not needed while recording. Background noise ruins the sound, so record in a quiet room with soft items like carpets. Use foam panels to absorb sound. If you have to record in a noisy place, use directional microphones like shotgun mics reducing noise. Ensure others stay silent and avoid moving around during recording to avoid unwanted noise ruining a good recording.
Don’t Move Around During Recording
To ensure good recordings, avoid moving while you record. Even slight movement can create unwanted noise. If you must adjust your position, do it slowly. Headphones with noise-canceling can help block out interference. Use a booth or microphone shield to reduce outside noise. A pop filter helps reduce breathing sounds if you move a lot. Ensure furniture doesn’t make noise when you move. Follow these steps for clear and good recordings.
Set Up A Good Monitoring System
To make your microphone sound better, you need to hear what you’re recording. You can use speakers or headphones for this.
To use speakers, place them at head height and absorb extra sound with foam. Headphones are good too because they block outside noise, but make sure they fit and sound good. The microphone sound should not leak into the headphones too much. Use a headphone amplifier or mixer if it does.
A good listening system helps you catch mistakes in your recordings easily. Now you’re ready to start recording!
How to make your Microphone sound better in Windows PC?
Here is the solution on how to make your microphone sound better on a Windows PC:
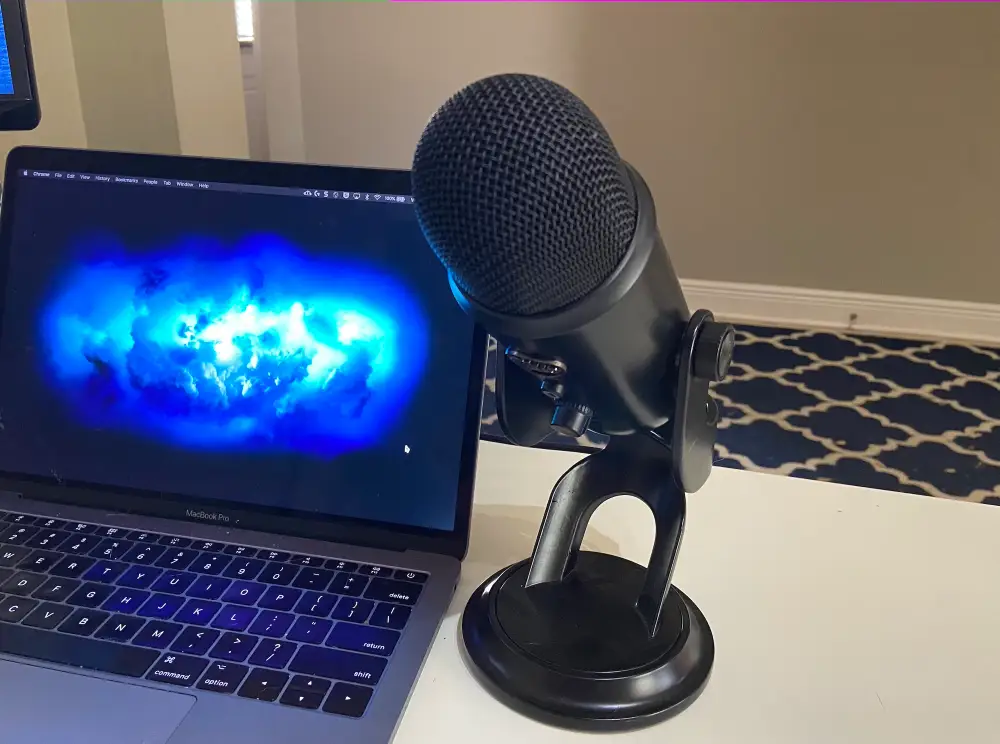
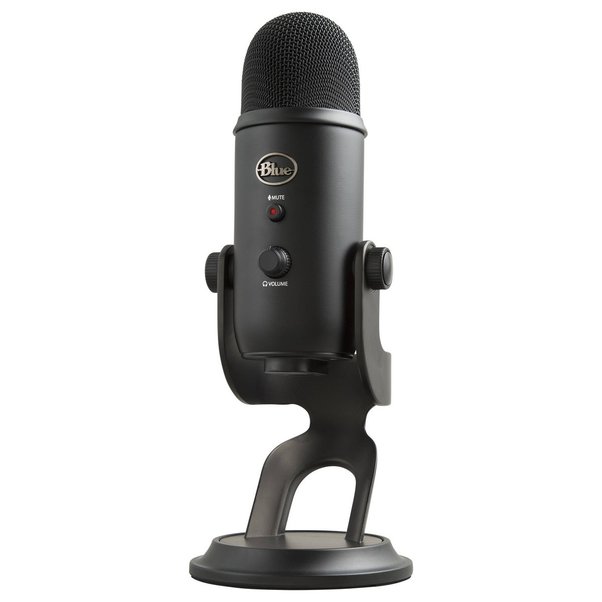
To make your microphone sound better, use a dedicated external USB mic instead of the built-in one. External mics built for vocals provide superior audio.
Some good options are Blue Yeti, Audio-Technica AT2020USB+, and Razer Seiren X. Place the external mic correctly by keeping it close to your mouth (2-6 inches away) with a pop filter in between to prevent distortion.
Adjust the microphone levels in Sound Settings so that it is sensitive without peaking or clipping the audio. Enable Noise Suppression to cut out background noise and use sound dampening panels if recording vocals in a room.
Update audio drivers to help mic performance. With quality positioning, levels, and noise reduction, you will get clean vocal recordings.
How to make your Microphone sound better on MacOS?
Here are the main ways to make your microphone sound better on MacOS:
- Adjust Input Levels – Go to System Preferences > Sound > Input and adjust the input volume so your voice is loud and clear without peaking or distorting.
- Reduce Background Noise – Click the checkbox next to “Ambient Noise Reduction” to enable noise cancellation and suppress unwanted background noise.
- Use App Settings – If recording into GarageBand or another audio app, adjust the input levels and effects like noise gate, compressor, or EQ in the app settings.
- Position Properly – Position the mic close to your mouth, around 2-6 inches away, at chest level pointed up towards your mouth rather than straight on to avoid plosives. Use a pop filter.
- Update Drivers – Make sure your macOS and audio drivers are up to date for maximum compatibility and performance.
- Use External Microphone – The built-in internal mics on MacBooks and iMacs are convenient but low-quality. Use a dedicated USB or XLR condenser mic for professional vocal recordings.
- Treat Room – Record in a room with sound dampening panels to reduce reverb and echo. Close windows and doors and record when the room is quiet.
Following these tips will significantly improve your microphone recordings on Mac to sound more professional.
Apps to Make the Mic Sound Better
Here are some of the top apps that can help improve microphone sound quality:
- Nvidia Broadcast – Uses AI to remove background noise and add studio effects like compression and EQ. Works with most mics.
- Krisp – Noise cancellation app that mutes background noise in real time. Can be used with communication apps.
- RTX Voice – Nvidia’s background noise removal app for RTX graphics cards. Very effective at cutting out ambient sound.
- RNNoise – Open source noise suppression filter that works well for live voice recordings.
- Reaper – Full digital audio workstation for applying effects like gain, noise gate, de-essing, etc.
- Audacity – Free open source audio editor with filters to remove noise, amplify, and enhance voice recordings.
- Adobe Audition – Professional audio editing suite with advanced options for noise reduction, compression, and mixing.
- Apple Logic Pro – Mac app with high quality effects and editing tools to clean up vocals.
Why Does Your Headset Mic Sound Bad?
Lots of things can make your microphone sound bad. It might be because of one or more of these reasons. Let’s talk about each of these issues to figure out how to fix the problem.
Bluetooth Connectivity Problems
Even though Bluetooth is commonly used for connecting devices, it has some problems that still need fixing.
Here are a few:
- Overcrowded frequency bands: This happens when many devices, like Wi-Fi, microwaves, and power cables, use the same frequencies as your Bluetooth device. It can cause issues.
- Physical obstructions: If there are big things between your headset and device, like metal, concrete, or plaster, it can mess up the Bluetooth connection.
- Outdated firmware: If you don’t regularly update your device, it can cause problems. This can affect how well your Bluetooth works.
- Bluetooth codec transmission: Sometimes, when Bluetooth sends audio data, some of it gets lost. This can make your sound not as good.
Diaphragm Size
A microphone turns sound into data. Bigger diaphragms capture more audio, making sound clearer. Headphones have small microphones due to size limits, usually using MEMS.
There are two headphone mic types: in-line and boom.
In-line is on the wire, light and compact.
Boom is mounted near the mouth, larger and provides better audio quality.
Boom mics offer better audio but are bigger and cost more. They are also more stable than in-line ones, which can produce noise due to movement. In-line mics are more affordable but may have some sound disruptions.
Too much Background Noise
If you use your headset in a noisy place and it doesn’t have noise-canceling tech, there’s a good chance it will pick up all those sounds. This is even more of a problem if your microphone is very sensitive—it might make the background noises louder than your voice.
Device or App Settings
The way your device and apps are set up is important for how good your microphone sounds. To make your mic audio better, you might need to explore and adjust some settings.
You can change internal settings to improve your microphone on various platforms like PC, Mac, Xbox, PS4, and even on apps like Discord and Streamlabs. We have a cheat sheet to help you with that!
Physical Mic Damage
If your headphones have been dropped and you think the mic might be broken, there are a few things you can do to check.
- Mic Test: See if your headset mic is working properly by doing a mic test.
- Check Connections: Make sure your headset is plugged in correctly. Look for any damage like frayed cables or broken parts.
- Record Yourself: To make your microphone sound better, turn on the mic monitoring setting on your device’s sound recording software. Record yourself speaking and making sounds. Listen to the recording to check if your mic is working well.
- Skype Mic Test: Do you want to improve your microphone sound? You can test it on Skype. Look for “Echo/Sound Test Service” in your contacts. Call the service and record a message. After recording, play it back and check if it’s clear. If yes, your mic is okay!
How to Make Your Headset Mic Sound Better?
Now that we know the main problems, let’s talk about how to fix them!
Here are some changes you can make to improve how your microphone sounds.
Ensure a Stable Connection
If your wired headset’s plug isn’t fitting well, clean and adjust it. If that doesn’t work, consider getting a new one.
Wireless Headset:
-
Fix Interference:
- Remove barriers between devices.
- Stay away from microwaves and fluorescent lights.
- Close unused apps and check your WiFi connection.
-
Match Audio Codecs:
- Bluetooth codecs affect both sound and mic input.
- Choose codecs that can handle data smoothly for better audio quality.
Adjust Mic Positioning
Where you put your headset mic matters for good sound.
Follow these steps:
- Put your headset on comfortably.
- Make sure the mic’s front faces you.
- Bend it to the edge of your mouth, about 1 inch away.
- Adjust if needed.
Also, consider your personal factors like voice, facial movement, and cheek size. There’s no fixed rule, so adjust as needed for the best mic position.
Adjust Microphone Sensitivity & Volume
Different mics have different sensitivity levels, affecting their volume. You can customize mic settings on platforms like PC, Mac, PS4, and Xbox, as well as in apps like Streamlabs and Discord.
-
For Windows PC:
- Go to Control Panel > Hardware and Sounds > Sound > Recording.
- Right-click your active headset mic, choose Properties > Levels.
- Adjust sensitivity. Note: Too much sensitivity can cause distortion.
-
For Mac:
- Go to System Preferences > Sound > Input.
- Adjust mic sensitivity by dragging the arrow.
-
For PS4:
- Hold the PlayStation icon, go to Sound/Device > Adjust Microphone Level.
-
For Xbox:
- Plug your headset into the controller, press the Xbox icon.
- Click on Audio, adjust settings. For no sensitivity settings, use a mic foam cover to reduce background noise.
FAQ’s:
How the transmission process affects sound quality?
If you want your voice to sound better on a phone call, there are a few things to consider. When you speak, your voice goes through many steps before reaching the other person. These steps include signal processing, data compression, and multiple relays. Bluetooth can also be part of this process. Each link in this chain can impact how the other person hears you. You have control over some factors, like your microphone. But wireless protocols are beyond your control.
What should you check for first to solve bad microphone sound?
If your microphone sounds muffled, the first thing to check is the mic port for any obstructions. Dust and debris can gather in the port, even if you take good care of your devices. These ports are small and have a mesh to stop particles from affecting the microphone. So, give it a close look and clear any blockages to improve your microphone sound.
Why does Bluetooth only make your voice sound worse?
Bluetooth, while making things wireless and convenient, can make your voice sound worse. This happens because it creates an extra step in the journey of your voice. The digital signal goes through a Bluetooth codec, causing a delay, and then it needs to be translated again by your device before continuing. Even with good service, the way audio is sent over Bluetooth can reduce the quality and overall experience. And if the network is not stable, it can make things much worse quickly.
Why does network coverage impact call quality?
After setting up the microphone, ensure your device has a strong network signal. Poor reception can affect data transmission, even with good microphones. Weak network connections may result in dropped voice data and frustrating experiences. Just imagine a video call with bad Wi-Fi; that’s how it feels on poor network connections.
Conclusion
In conclusion, there are several ways to improve the sound quality of your microphone. Positioning the microphone properly, using pop filters and windscreens, and utilizing high-quality cables and preamps can make a significant difference.
Additionally, adjusting the microphone’s sensitivity and volume settings, utilizing the polar pattern, and using plugins to tweak the sound can further enhance the audio. It is also important to consider room acoustics, keep distance in mind, and use noise reduction software if necessary.
Choosing the right microphone and minimizing unnecessary noise are also crucial factors. Whether you are recording on a Windows PC or MacOS, following specific steps can help optimize your microphone’s sound.
Lastly, understanding common issues with headset microphones and taking steps to fix them can greatly improve the audio quality.
By implementing these tips and techniques, you can ensure that your microphone sounds better and produces high-quality recordings.