AirPods have become a popular accessory for music lovers, but did you know that they can also be used as a microphone for video recording?
Whether you’re creating content for social media or recording a vlog, having a high-quality microphone can make a world of difference in your videos.
In this complete guide, I will explore how you can use AirPods as a microphone for video and unlock their full potential for recording audio.
From connecting them to different devices to adjusting settings for optimal sound quality, I’ve got you covered.
Let’s dive in and discover how you can elevate your video recordings with AirPods as a microphone.
Can You Use AirPods & AirPods Pro as Microphone For Video?
Yes, AirPods and AirPods Pro can be used as a microphone to record audio when capturing video on an iPhone or iPad.
The built-in microphones in the AirPods can pick up your voice and transmit it to the device for video recording.
While the audio quality may not be as high as a dedicated external microphone, the AirPods provide a convenient and hands-free way to record usable audio for casual video recording needs.
So, the AirPods do have microphone capabilities that allow them to double as a microphone for video recording purposes.
How to Use AirPods as Microphone When Recording Video?
To use AirPods as a microphone when recording videos, follow these simple steps on your iPhone:
- Open Settings: Launch the System Settings app on your iPhone.
- Navigate to Accessibility: Scroll down and tap on “Accessibility.”
- Access Audio/Visual Settings: Select “Audio/Visual” on the Accessibility page.
- Enable Live Listen: Turn on the “Enable Live Listen” switch. This feature, meant for hearing aids, helps connect your AirPods.
- Launch the Camera App: Exit Settings and open the iphone’s native Camera app
- Choose Your Audio Source: Tap on the white circle with the black microphone icon, revealing a menu of audio options.
- Select AirPods: Look for “AirPods” in the options and tap on it. Place your AirPods in your ears and wait for them to connect.
- Start Recording: With your AirPods connected, you’ll hear real-time audio through the Camera app. Hit the record button to capture great videos with excellent audio. While default video apps might not detect AirPods automatically, using dedicated video recording apps or these steps can make it possible with the best results.
Using AirPods Mic for Video Recording on a Mac
- To use your AirPods mic for video recording on a Mac, start by pairing them.
- Go to “System Preferences” and access the “Bluetooth” settings to initiate the pairing process.
- Once connected, set the AirPods mic as your default microphone for recording device. Adjust the sound pick-up and microphone boost settings in your Mac’s preferences according to your liking.
This way, you’ll be all set to record videos with the convenience of your AirPods’ microphone.
Using AirPods Mic for Video Recording on PC
To use your AirPods mic for video recording on a Windows PC, follow these steps:
- Pair AirPods: In your PC’s “Bluetooth and other devices” settings, pair your AirPods.
- Configure Default Recording Device: Once connected, set up the AirPods mic as your default recording device. Go to “Sound” settings and choose your AirPods.
- Adjust Settings: Fine-tune the sound pick-up and microphone boost settings in the sound preferences to optimize audio quality.
- Troubleshoot Recognition Issues: If your PC doesn’t recognize AirPods as an input device by default, access “Sound settings” and select your Apple AirPods under “Choose your input device.”
- Resolve Recognition Issues: If your AirPods are listed as “High Definition Audio Device” under the “Recording” tab, select it, click “Properties,” navigate to the “Driver” tab, and choose “Update Driver.” This step typically resolves recognition issues.
By following these steps, you can seamlessly use your AirPods mic for video recording on your Windows PC.
Recording Audio Via AirPods Using Third-Party Apps
Make your AirPods’ microphone shine by using them with special video apps.
Here’s an easy guide to get started:
Pick the Right App:
Choose a video recording app that supports Bluetooth audio input.
Filmic Pro and MoviePro are two good options.
- Filmic Pro: Works on Apple and Android. It’s a bit pricey but gives professional-grade audio and video recording.
- MoviePro: Exclusive to Apple devices, it’s more affordable and ensures clear audio with AirPods.
Recording with MoviePro:

- Download MoviePro from the Apple Store.
- Set up your account in the app.
- Enable Bluetooth Mic in your iPhone settings under “Recorder Settings.”
- Get creative and start recording fantastic videos with your AirPods as the microphone.
Recording with Filmic Pro:

- Install Filmic Pro from the Apple or Google Store.
- Adjust audio settings in the app to use the “Bluetooth Microphone.”
- Complete your account setup and payment.
- Unleash your creativity and record amazing videos with top-notch audio using your AirPods.
By following these simple steps, you can make the most of your AirPods’ microphone capabilities and create high-quality videos.
Can I Set the AirPods Mic to One AirPod?
You can choose to set one AirPod as the main microphone for your calls and Siri interactions.
By default, both AirPods work together for the microphone, but you can customize it to use only one.
Here’s how to do it:
- Make sure your AirPods are connected to your iOS device.
- Go to Settings on your iPhone and tap on the name of your AirPods (located just under your Apple ID) or access Bluetooth settings and tap the “i” icon next to your connected AirPods.
- In the AirPods settings, find the “Microphone” option.
- Tap it, and you’ll see the choice to set the active microphone to “Always Left AirPod” or “Always Right AirPod.”
Keep in mind that once you choose a side, it stays that way, even if you take the AirPod out or put it back in the case. This is handy if you prefer using only one AirPod regularly.
Do AirPods Serve as an Effective Microphone for Video?
Yes, AirPods can be used as a microphone for video, but you’ll need a third-party app for that.
To record videos with your AirPods as the microphone on an iPhone, download apps like FiLMiC Pro, Filmic Remote, iMovie, or Hyperlapse from Instagram. These apps support Bluetooth audio input, letting you connect your AirPods to your iPhone for video recording with better sound.
However, it is important to note that the iPhone’s native camera app does not support Bluetooth microphones, including the use of AirPods as a microphone. This means that using a third-party app is necessary for this function.
One of the most popular and highly recommended apps for this purpose is the Filmic Pro app, which allows for high-quality video recording with the use of AirPods as a microphone for enhanced video content.
However, with the increasing popularity of AirPods and their use as a microphone, it is possible that future updates to the iPhone’s native camera app may include support for Bluetooth microphones, making it easier to use AirPods as a microphone for video recording.
FAQ’s:
Can I use Airpods as a microphone for video calls?
Yes, AirPods can be used as a microphone for video calls by adjusting the correct microphone settings. It is important to select AirPods as the default recording device and adjust the microphone sensitivity according to your needs. Make sure to check the settings before starting your video call.
Can AirPods be used as a microphone for speaker?
Yes, AirPods can be used as a microphone for speakers, enhancing audio quality during calls. They can serve as a microphone when paired with a speaker for better sound quality in conversations.
Can I use my AirPods as a Live Microphone?
Yes, you can use your AirPods as a live microphone by activating the Live Listen feature.
Just ensure your AirPods are connected, go to the Control Center or lock screen, locate your AirPods, and tap “Live Listen.” This transforms your AirPods into a microphone with adjustable audio input levels, providing clear and enhanced live audio.
For added convenience, you can easily access Live Listen in the Control Center or lock screen and customize settings like microphone sensitivity to suit different environments.
Can I adjust AirPods mic sensitivity?
Yes, you have the ability to adjust the sensitivity of your AirPods microphone to enhance the quality of your voice calls, recordings, and interactions with voice assistants like Siri.
This adjustment is crucial for capturing your voice accurately and minimizing unwanted background noise or distortion. Striking the right balance prevents issues like muffled audio or excessive noise, ensuring your sound is clear and distraction-free.
Microphone sensitivity plays a key role in how well the microphone captures and amplifies audio – finding the sweet spot helps you achieve optimal audio quality in various situations, including transparency mode.
For further assistance with adjusting your AirPods mic sensitivity, you can reach out to Apple support for help.
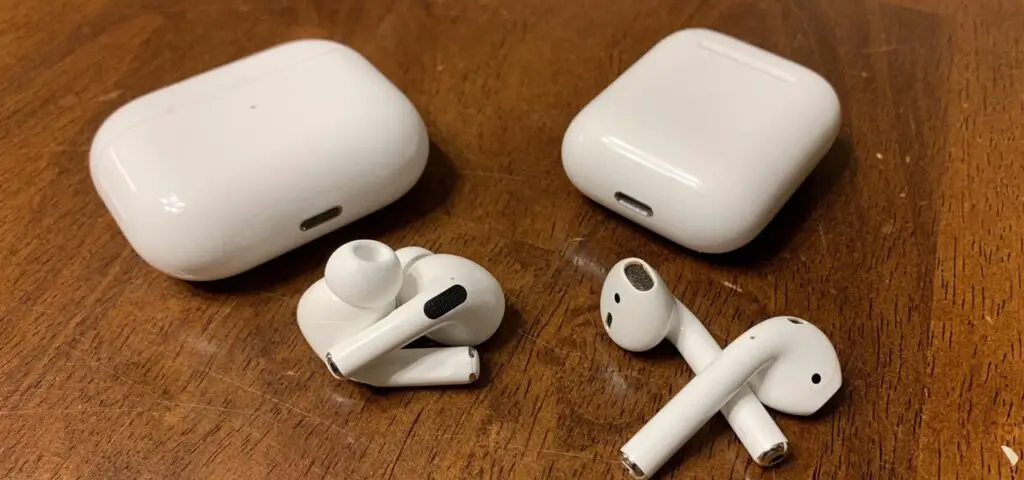
Are there multiple microphones on AirPods?
Yes, AirPods typically feature dual microphones, enhancing the overall audio experience.
One microphone is located on the stem, ideal for clear phone calls, while the second microphone resides inside each earbud, facilitating interactions with Siri and voice commands.
This dual-microphone setup not only optimizes functionality but also aids in noise reduction, ensuring your voice remains distinct in various environments.
Some recent AirPods models even incorporate a third microphone in the charging case, strategically positioned to improve call clarity by focusing on your voice and minimizing background noise during phone calls in challenging surroundings.
Additionally, the AirPods 2nd generation, with its advanced sensors and accelerometers in the earbuds, features an even better microphone performance than its predecessors.
Is it possible to use AirPods as a microphone for video on Android devices?
Yes, it is possible to use AirPods as a microphone for recording video on Android phones and tablets. The AirPods contain built-in microphones that can capture audio and transmit it to the Android device via Bluetooth connectivity. While the audio quality may not be as high fidelity as a dedicated microphone, the AirPods provide a simple and hands-free way to record audio for videos in a casual setting, taking your sound game to new heights. The functionality works similarly as using AirPods as a mic on iOS.
Do I need to adjust any settings on my computer or AirPods before using them as a microphone for video?
Before using your pair of AirPods as a microphone for audio recording and video sound, there are a few settings you may need to adjust.
Firstly, make sure your computer’s audio input settings are configured to use the AirPods as the microphone.
Additionally, ensure that your AirPods are properly connected and charged. Test the sound quality and adjust volume levels if necessary before recording sessions or live streaming. Keep in mind that some video editing software & sufficient recording experience may require additional setup for using AirPods as a microphone.
What should I do if the audio quality is poor when using AirPods as a microphone for video?
If the audio quality is poor, first ensure your AirPods are properly paired and connected. Also check that your device’s microphone or audio input setting is selected to use AirPods.
If the issue persists, try adjusting your position so the AirPod microphones are closer to your mouth. The built-in mics work best when close to the audio source. You can also try using a third party recording app with better microphone support compared to your device’s default camera if needed.
In most cases minor positioning adjustments resolve poor audio issues when using AirPods as a microphone.
Are there any tips or tricks for getting better sound quality when using AirPods as a microphone for video?
Here are some tips for getting better sound quality when using AirPods as a microphone for video:
- Position the AirPods as close to your mouth as possible when speaking to maximize audio pickup.
- Use a recording app that allows manual audio input level control, and boost the input volume from the AirPods mic.
- Reduce ambient background noise around you to improve clarity and isolation of your voice.
- Use AirPods Pro and enable Active Noise Cancellation to reduce external noises.
- Consider adding a lapel mic to your AirPods for improved directional audio pickup if sound quality remains unsatisfactory.
Conclusion
In conclusion, using AirPods as a microphone for video recording can be a convenient and practical solution. Whether you’re using a Mac or PC, there are various methods and third-party apps available to help you achieve this.
However, it’s important to note that the effectiveness of AirPods as a microphone may vary depending on the specific device and recording settings.
For optimal sound quality, it’s recommended to adjust the mic sensitivity and experiment with different recording apps.
Additionally, if you’re experiencing poor audio quality, make sure to check your computer and AirPods settings, as well as the positioning of the AirPods during recording.
With the right setup and attention to detail, AirPods can serve as a reliable microphone for your video recording needs.