The microphone is intimately connected with the music industry. We can not imagine that the music industry can run without mics.
Musicians are often closely able to utilize the space of mics and develop an active approach for recordings. Mics are essential for utilizing musical instruments and reflecting sound waves in such a way that it creates a fundamentally tactile sound.
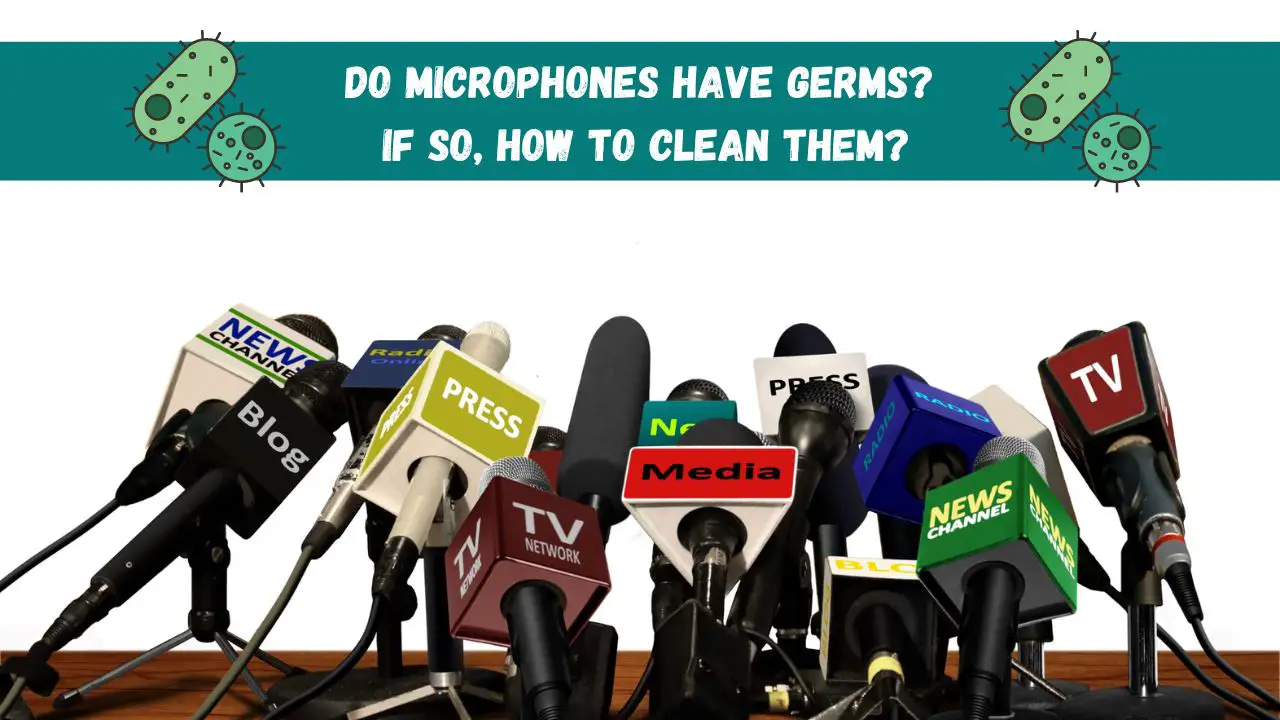
We can use the microphone in many ways, and several persons can handle one mic. This way, microphones can be contaminated. It may contain ample germs to spread infection.
Therefore, the touch of several persons in the same mics can cause dirt and is responsible for elevating the risk of germs within the outer texture of mics. To prevent this risk, it is essential to maintain mics hygiene. A strong level of hygiene maintenance can effectively reduce bacteria and allow users to use mics safely.
But what will be an effective method for cleaning a microphone? Well! There are some excellent methods that you can follow to disinfect several types of mics. The method of cleaning may vary from one mic to another.
Here, the article will guide you through all mind-blowing information that can provide you with some awesome tips to manage microphone hygiene. So, stay tuned tightly to this article till the end!
Importance of microphone hygiene

Mics are extensively used for enhanced quality in a wide range of recording systems. In studios, people share mics and other equipment.
Even in rehearsal rooms, or home studios, the most common piece of music gear is a microphone. Therefore, the proximity of hands can cause several infections. Even you can catch a cold from handling a mic that has been used multiple times.
So, how does this contamination spread?
The reason is when you speak or sing, there will be a high chance that your mic can capture your saliva at the outer layer.
Maybe you can get a sneeze or cough while speaking in a mic. It increases the risk of spreading infections. Here, effective hygiene methods can be beneficial to turn down the contamination. That is the reason you must maintain a specific hygiene system for managing the disinfection process.
The importance of hygiene increases day by day, and after the Covid-19 pandemic, people are more conscious about enhancing the hygiene process. Although you might get surprised, music and hygiene often go hand in hand.
Maintaining hygiene is helpful to fulfill the cross-communication process and allow musicians to manage mics in a better way. All microphones must be kept in a cleaning ground to prevent the breeding of germs, and managing hygiene. This way, we can decrease the risk of infection among people.
However, you need to remember that cleaning mics and disinfecting mics have some differences. Cleaning mics is effective to scrub the dirt, but disinfection of mics is responsible to kill germs.
Tools that you need for cleaning the microphone
Some tools and equipment that you might need for cleaning your microphone are;
Elacin hygiene kit: This hygiene kit is the most convenient way to clean earphones. It is available in two bottles of cleaning spray. It is a collection of bottles and small brushes which is capable of managing the hygiene of mics.
Pop filter: The function of pop filters is to record vocals, and it helps to give plenty of options for protecting mics from viruses.
Mic cover: The mic cover is helpful to make a barrier between saliva and mics, and it is needed to decrease the risk of contamination.
Mic cleaning wipes: You can use simple cleansing wipes to clean the mics.
Using sanitizers: You can use sanitizers to disinfect the outer layers of mics. A user can use isopropanol alcohol or any kind of water solution that helps to remove germs and viruses.
But how are sanitizers used for the microphone?
Well, you can sanitize mics using isopropanol by spraying this on the outer layer of mics. Pure isopropanol is too quick and effectively kills germs on the surface. Please remember, unlike the plastic and metal surfaces, you can not use alcohol to clean the cable. In that case, you can use damp clothes for cleaning and leave them for 72 hours for soaking.
Some tips for sustaining mic hygiene
There are some useful tips that you can use for maintaining hygiene. Personal hygiene plays an important role, and washing hands is the most effective and simple way to maintain personal hygiene. You need to clean your hand regularly while using mics. It efficiently reduces contamination. If possible, you can remove the grid and clean this with lukewarm water and soap. It helps to enhance the overall hygiene system.
You can also use demineralized water, and you can find it online easily. Apart from that, hydrogen peroxide-containing products are also very helpful in cleaning mics. Plus, you can keep a microphone under UV radiation to kill bacteria and keep the headphones at a high temperature which can easily clean the germs.
How to clean microphone pop filter

The pop filters are the foamy porous stuff. So, the most effective way to clean the pop filter is to simply wash them with lukewarm water. You can leave this for 72 hours, and this is helpful in disinfecting the foamy stuff.
How to clean different types of microphone
There are different types of microphones, and the management of hygiene is varied from one type to another.
How to clean a studio and condenser microphones
Condenser mics have detachable grills, and all of them are fragile. Therefore, you easily detach the grills and wash them with a perfect toothbrush. You can follow the simple 2 steps for cleaning condenser mics.
- In step 1, you just clean the grill. In this step, water and fluid are not required. You just take a dry toothbrush and tenderly scrub the grill. You must not put any pressure on the brush.
- In step 2, you clean the body as well. In that case, you can use isopropanol to clean the body of the condenser microphone.
How to clean a handheld and pencil microphone
To clean this microphone, you must remove the grid and clean it with lukewarm water and soap. After theta, you can leave the microphone for 72 hours. The germs will die at a high temperature.
Effective cleaning tips for a dynamic microphone

The cleaning of the dynamic microphone is varied from condenser mics. In order to clean the dynamic microphone, follow these steps:
- Step 1: you can remove the screws and try not to touch the cartridge.
- Step 2: clean the grill using lukewarm water. It shakes off the excess water and cleans the outer surface.
- Step 3: clean the windscreen and thoroughly wash the screen with warm water and soaps. You can dip within the grill, and it’s better to use demineralized water to diminish infection.
- Step 4: you can clean the body using either isopropanol or diluted soapy water. The microfiber cloth solution is helpful for cleaning all the stuff.
How to clean a blue yeti mic?
The best way to clean the blue yeti mic is to remove the grills.
After removing the grills, you can put them within the washing machine.
Yeti microphones can easily catch bacteria and cause several airborne particles. It also can catch cigarette smoke.
Therefore, the grills and screen must be detached and cleaned together. You must fill the bowl with warm water and add some mild detergent. It can be submerged with a grille and foam screen.
After cleaning all the elements, you can rinse it with clean warm water.
In the last step, store it in a safe place, and you can use any wet towel to dry all components. After drying all components, they can be placed in the microphone base.
How to clean a microphone iPhone
In the first step, use a toothpick to clean the dust. Thereafter, a super soft bristle toothbrush can be used to wipe away any blockages. After that, you may use any cleaning product to remove the dirt. This way, it helps to manage hygiene.
Miniature and sub miniature lavaleir and cleaning a headset
Headset microphones are sensitive and you can follow three steps for cleaning lavalier mics.
- In step 1, you can remove the cap of the headset mic. After removing, you can wash the cap with lukewarm soapy water.
- In step 2, you can clean the electrical components with demineralized water.
- In step 3, you can clean the body of the headset mic with alcohol.


